
Create a report
Wie lege ich einen neuen Report an?
Do you want a dashboard delivered to you regularly as a report?
Here's how to do it!
In the dashboard you want to create the report for, set all the important filters that should also apply when the report is sent.
Once you have set all the filters, move the mouse to the three-dot menu at the top right and click
Neuer Report.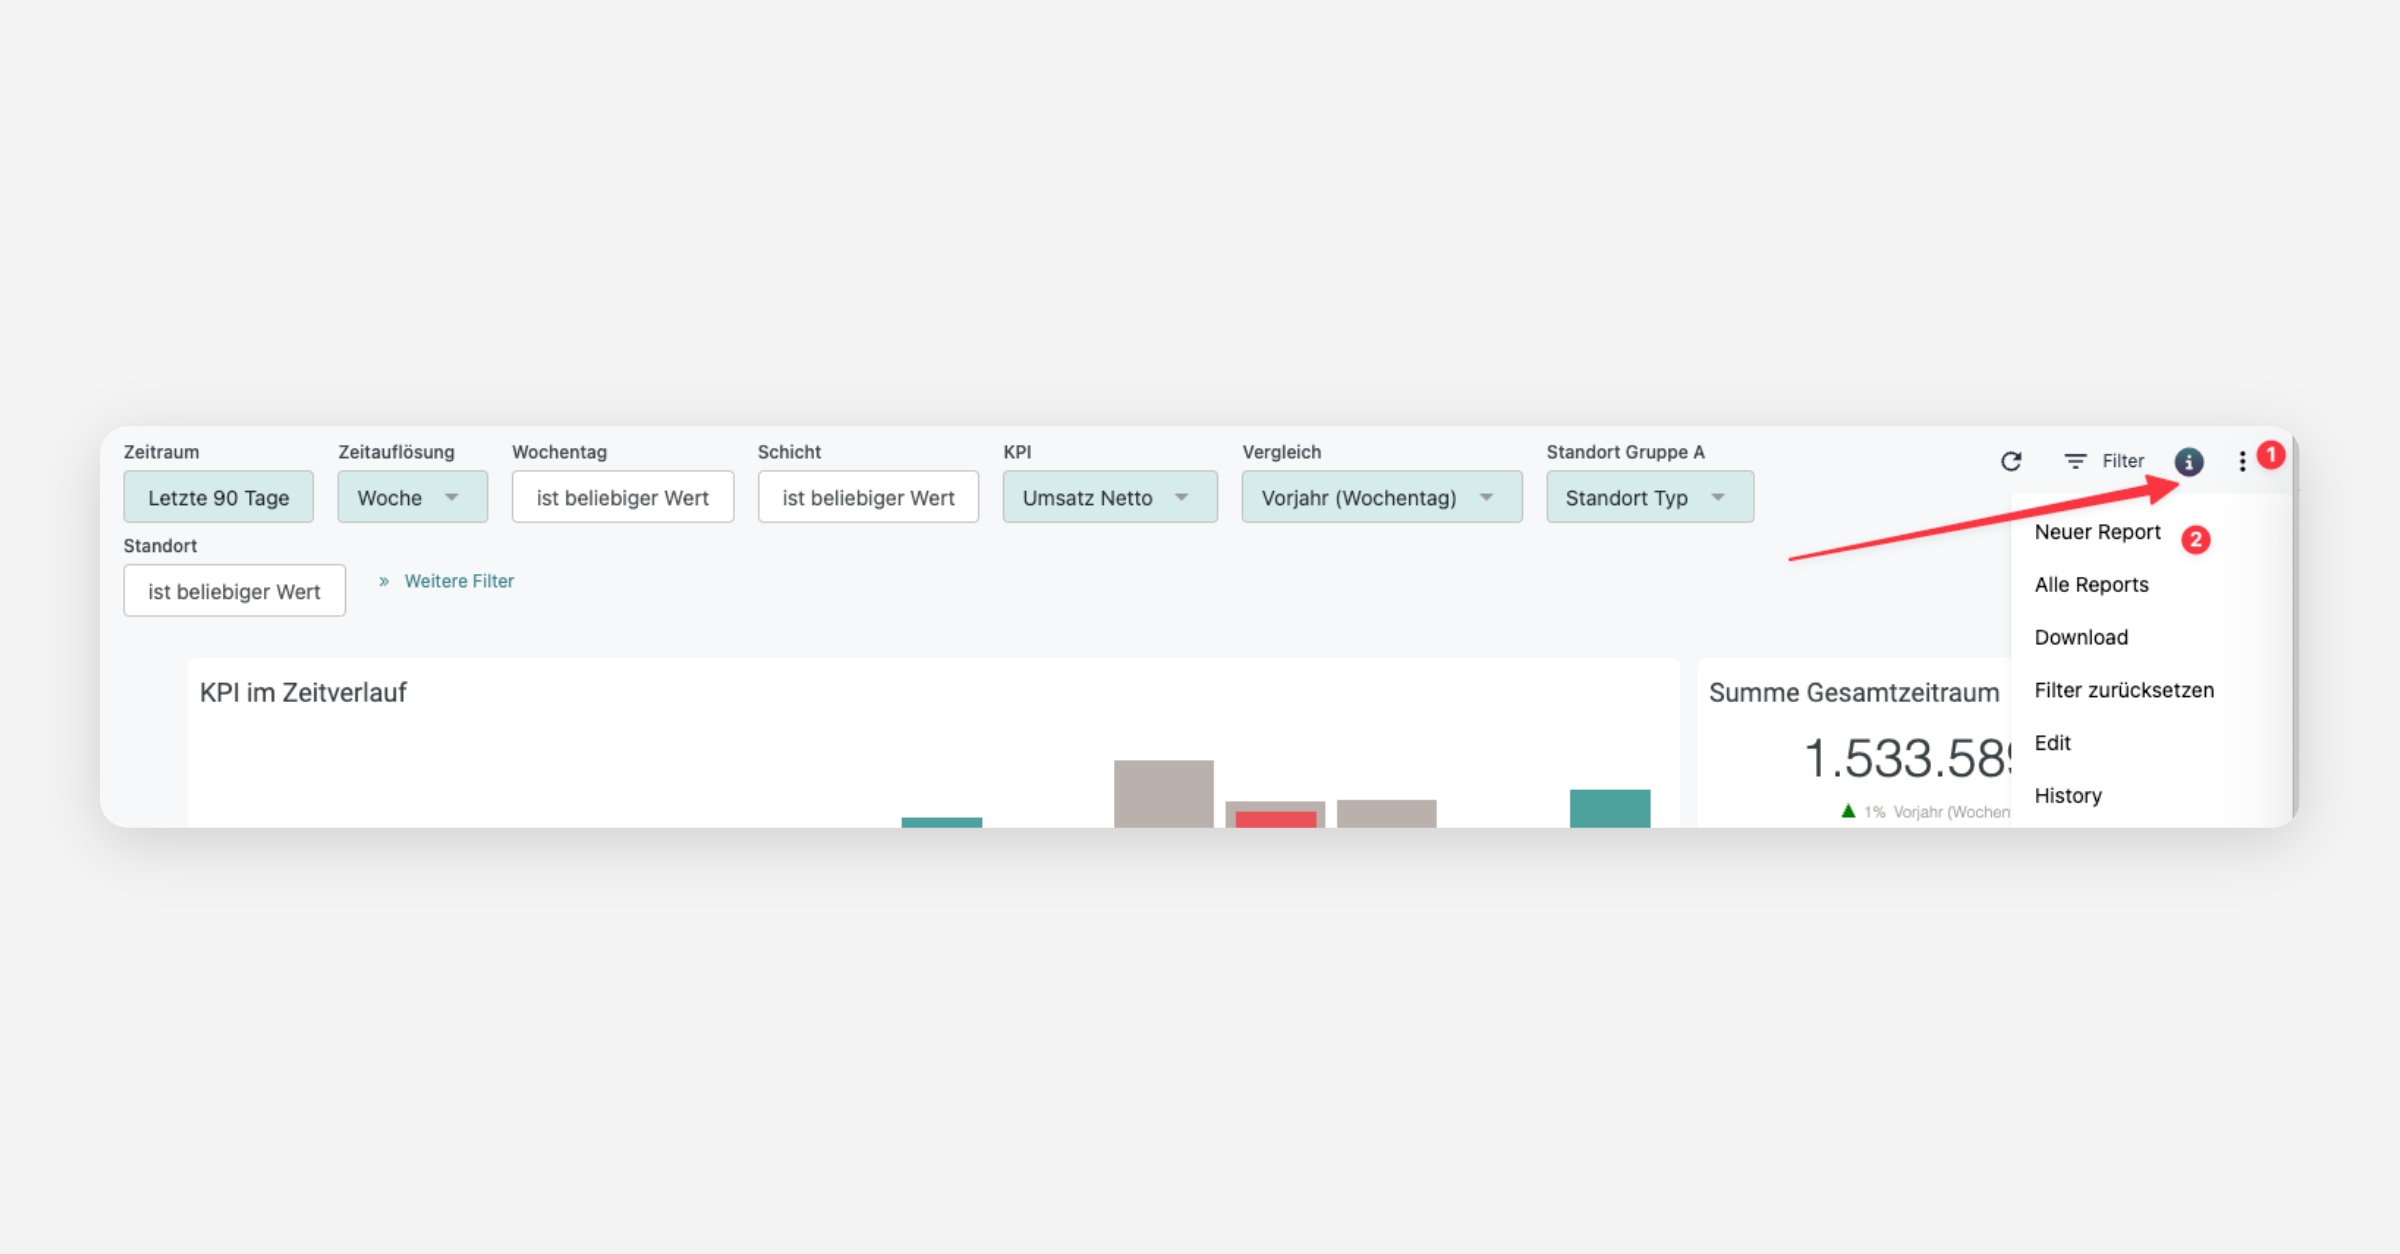
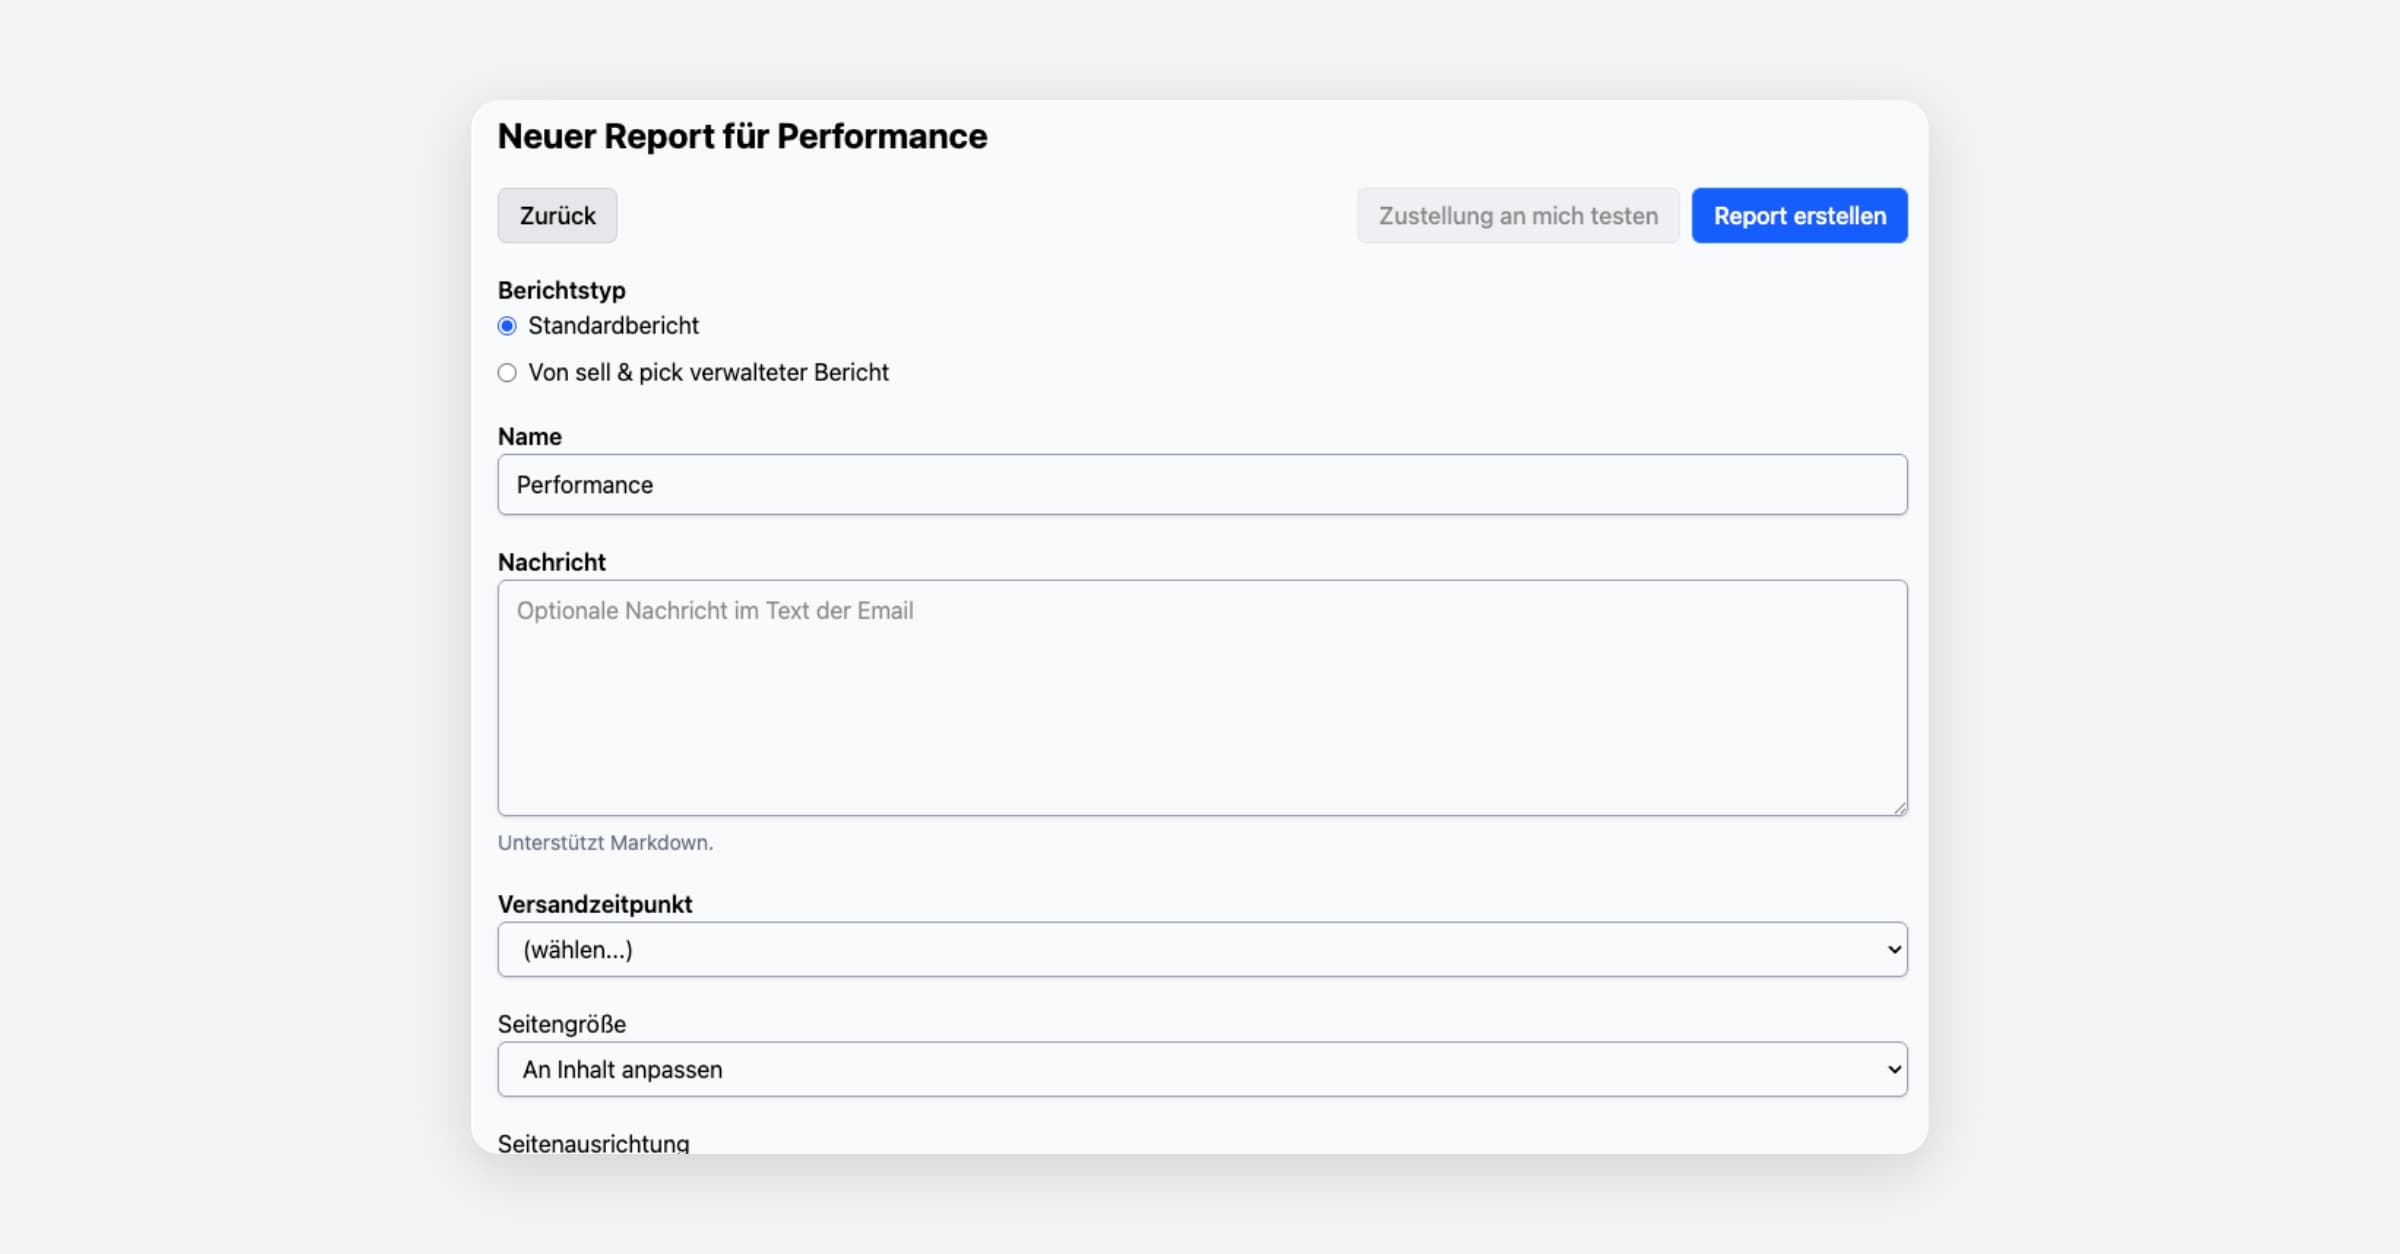
The reporting view opens.
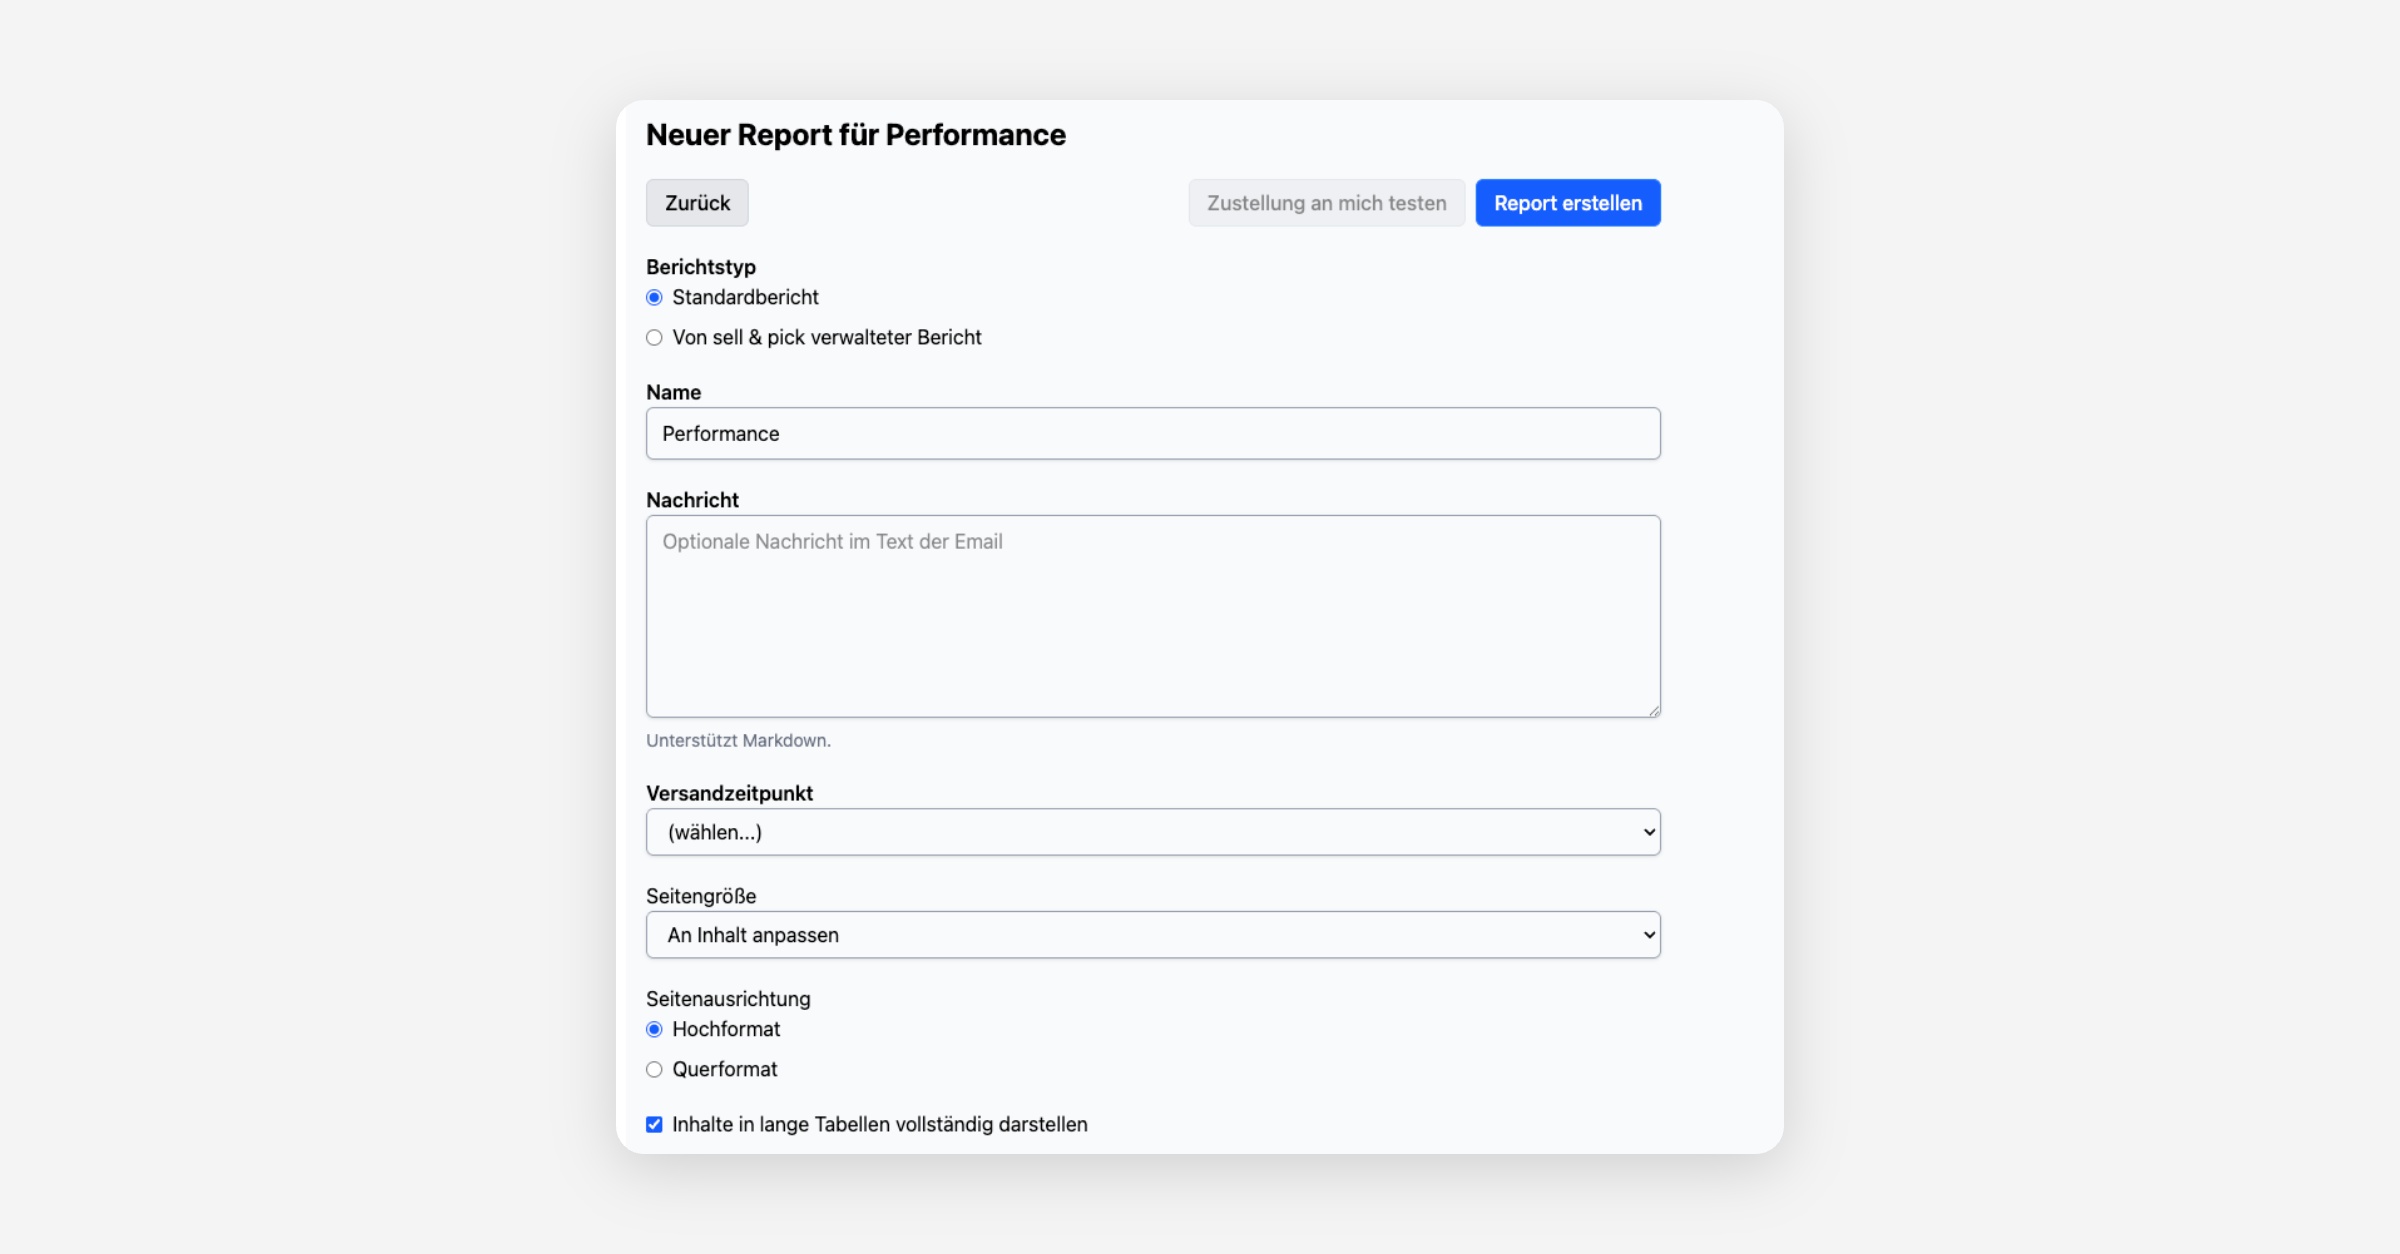
Name: First you can choose what name the report should have. This is also what shows in the subject line of the report email.
Message: In the second field you can set whether a specific message should be added to the text of the email.
Send time: Next you can set at what times the report should be sent. There are preset options, or you can define your own.
With the page size setting you can also try out the report format.
With the "Show full content of long tables" check, you can also make sure that all rows in all tables are always shown.
Once you are happy with the settings, click "Create report" at the top right. You can then test the delivery to yourself to see how the report will arrive for the recipients.
Important: Reports can only be created for the email address saved for the user. If reports should be sent to external email addresses, please contact [email protected]
Faster with Smarta
You can also create reports simply by chat. Open Smarta fragen in the navigation and write, for example: "Send me the product group dashboard every Monday at 7 am as a PDF, filtered to the Munich store." Smarta creates the report and, if you want, sends you a test email right away. You can find all the details in the article Reports mit Smarta einrichten.
There is a separate guide for your own dashboards: Reports und Downloads für eigene Dashboards.
Was this helpful?